
How to Hook up Solar Panels to RV Batteries

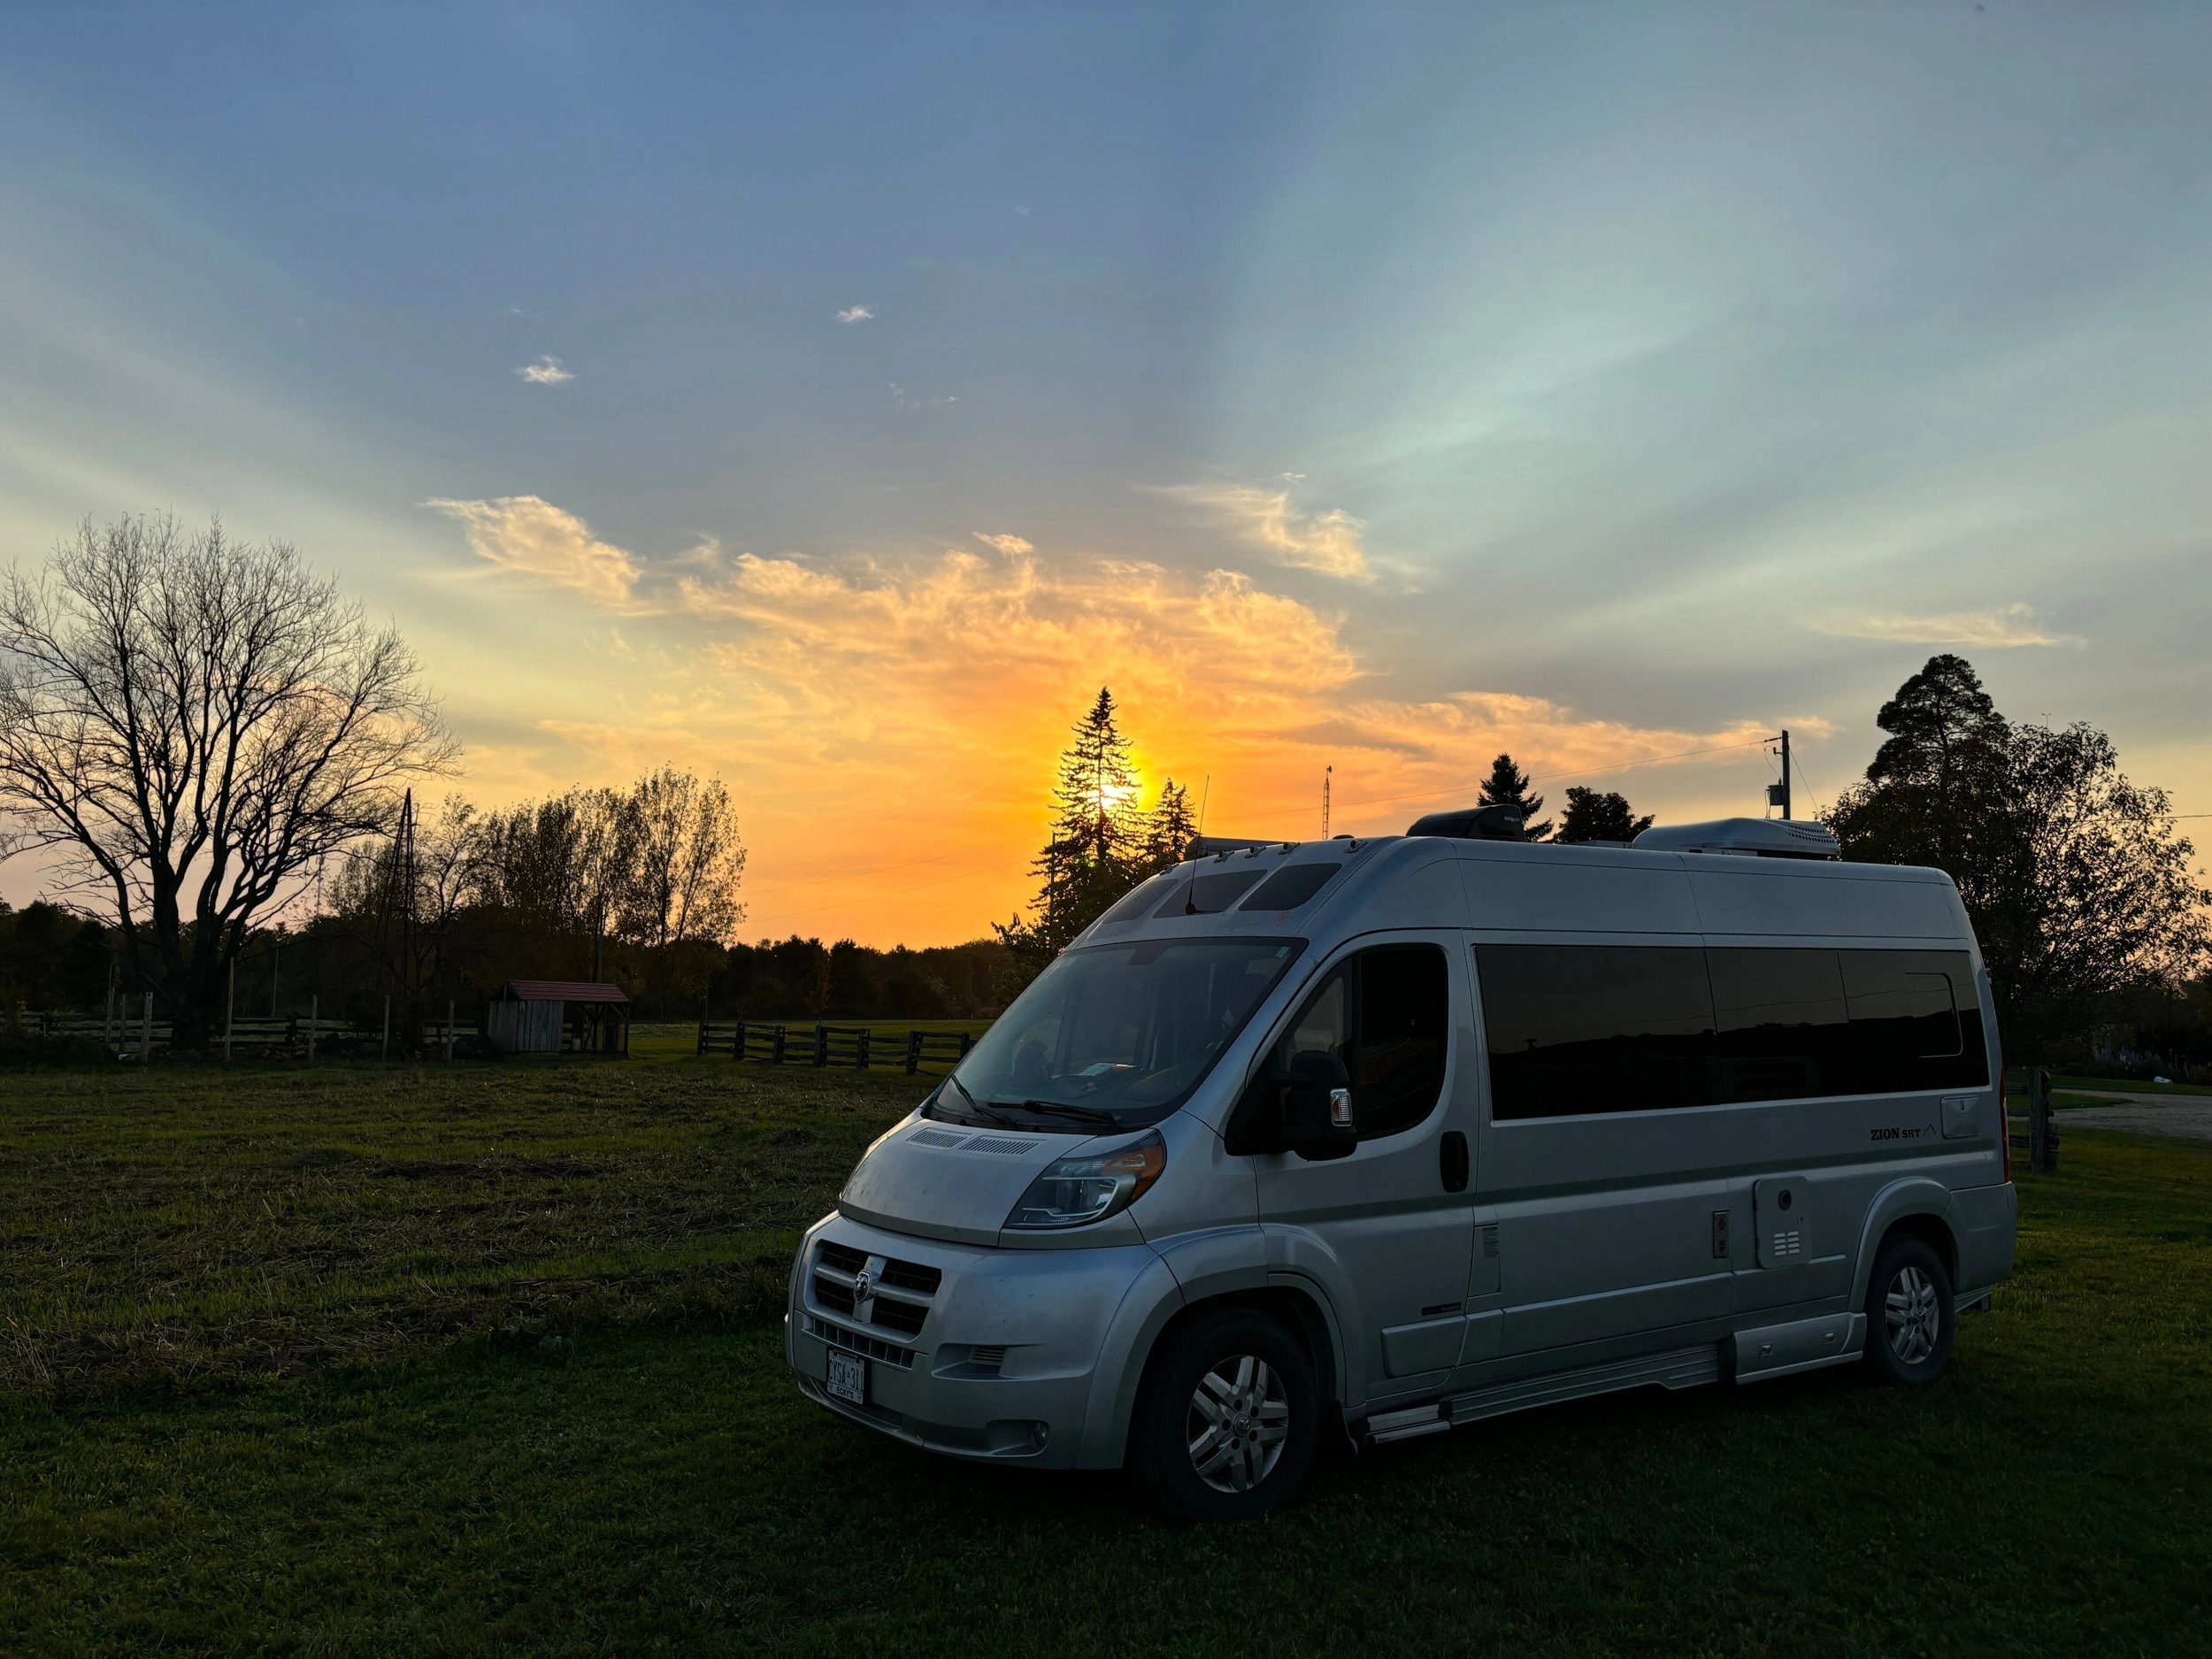
No problem, I hear you say, just fire up the solar panel. And you’re not wrong. The majority of RVs, camper vans, and caravans have solar power capacity to one or another extent, and rightly so. Solar power guarantees you the freedom to camp wherever the fancy takes you.
That said, the process of setting up your first RV solar panel can be confusing at first. Particularly how to hook up solar panels to RV batteries. Don’t sweat it though. We’re going to run you through a step-by-step guide on how to get the sunshine into your RV power grid.
Let the sunshine in. Getting natures bounty into your batteries.
The point of the solar energy sword is the solar panel. Solar, or photovoltaic (PV), panels convert solar radiation into electrical energy which can be used directly or stored in batteries. Now, solar panels for the RV are typically mounted on the roof of the vehicle or on mobile frames.
Whichever way you have chosen to install your solar panels, you’ll need to get their output to your batteries. A solar panel system produces a low voltage, typically 12 or 24 volt, direct current (DC) output. That output is stored during daylight hours in one or more high amp hours LiPo or lead-acid battery banks.
That’s great if you are only using DC appliances in the RV or camper van. What about the microwave, TV or air conditioner though? Many appliances in your RV are conventional 120-volt alternating current (AC) devices. So, not only do you have to store the panels’ energy, but you need to convert it to high-voltage AC.
RV solar systems: The basics
RV solar systems typically consist of four separate sections which are:
- Generation
- Charge control
- Storage
- Inversion
Generation is the job of the solar panel. They “harvest” solar radiation and generate electrical energy. As mentioned earlier this energy is a low voltage DC output.
The charge control section is the domain of a solar charge regulator or controller. This device takes the output from the solar panels and charges the batteries. Its main function is to ensure that the batteries are correctly charged, in particular, that they are never overcharged.
The storage function is pretty self-explanatory. This is the battery’s turf and their job is to store the solar panel output for later use, especially after dark. The battery’s energy can either be used to directly power DC appliances or converted to main power as described below.
The inversion section is where the low voltage DC battery power is converted to 120 volt AC by the inverter. The inverter output will typically be wired directly into the RV outlet socket circuit. In addition, most inverters also have a couple of auxiliary outputs if you need more outlet capacity.
Pictured below is a basic solar layout.

How all the parts fit together
Let’s check out how it all comes together.
The RV solar panels
At the heart of the system are the RV solar panels. These gather solar power and convert it to a low voltage DC electrical current. This electrical potential is then sent downstream to the charge controller.
The charge controller
Solar charge controllers usually have 4 main connections. These are the positive and negative solar panel inputs and the positive and negative battery outputs. The output leads from the solar panels are connected to the panel inputs on the controller (A) as illustrated below. Then a set of leads are used to connect the controller battery outputs to the battery itself (B).
Many charge regulators also have a separate set of connections for hooking up DC appliances directly to the controller (C). Charge controllers may be pulse width modulation (PWM) or maximum power point tracking types.

The battery
The LiPo or lead-acid batteries are now connected to the primary charging source. The charge controller will charge the batteries correctly, avoiding overcharging, during the day. At night the controller will prevent stored energy in the batteries from flowing back into the solar panel array.
Any DC appliances you have in the RV can be connected via fuses and suitable outlets directly to the battery. Alternatively, low demand devices can be connected to the controller if it features suitable outlets.
The inverter
The inverter inputs are connected directly to the battery terminals as indicated below (B). It then boosts the low voltage input to 120 volts and converts the DC waveform to an alternating polarity AC output. That AC output is then wired into the RV grid or extended out of the vehicle for external mobile devices (A).

Supplemental devices and equipment
This is all a fairly simplistic overview of how to hook up solar panels to your RV batteries. There are several other pieces of equipment that are commonly included at various points along the way.
Battery maintainers
A battery maintainer is basically an AC-fed battery trickle charger. They are connected to shore power when it’s available and slow-charge the battery at night or in low light conditions.
Combiner boxes
The combiner box is typically located between the RV solar panels and the charge controller. They serve to “combine” the inputs of multiple solar panels while offering electrical protection through fuses or circuit breakers.
Quick disconnect switches
Quick disconnects offer the additional protection of central isolation for the RV solar panels in case of emergency. It’s also a good idea to make sure similar isolation is installed on the inverters’ AC output.
The wrap-up
The RV solar system differs little in layout and structure from most home-based on or off-grid systems. In essence, the RV solar panel is hooked up to batteries via a charge controller. The battery output is then fed to an inverter that produces the AC power requirements of the RV.
Learn More About Boondockers Welcome
We promise not to spam you!

I’m always excited about new levels in house of hazards.